The quality of light will have the biggest impact of the mood in your photos.
Light is essential for photography. In fact, the word photography means painting with light. Light is wonderful to work with. It doesn’t smell, leaves no dust, and requires no cleanup. It can be a gorgeous component of your photographs and set the general mood and feeling for scenes and photo opportunities. And yet, some photographers can be a little scared by the concept when they start out. I was too, I admit. What helped me greatly was when someone broke it down for me so I could deal with light properties one at a time, wrap my head around them, and figure out how to use each of them. I hope it’ll help you as well.
Light has 4 properties:
Quantity
The quantity of light is just about how much light is available. We use the camera controls of shutter speed, aperture, and ISO to set the camera for the available light in the location where we’re shooting.
Quality
The quality of light deals with how soft or hard your light is. It goes like this:
A small light source and a large subject will result in hard light.
A large light source and a small subject will result in soft light. The quality of light is, in my opinion, the most important property to manage when taking photos. When you have an unfavorable light quality, the other properties are meaningless. That photo is not going to work. Look for the right light quality first. And then remember: even when your light quality is what you’re hoping for, you still have to manage the others to get a decent photograph.
Direction
The direction of light is based on where the light is coming from to the subject, as seen from the camera's position.
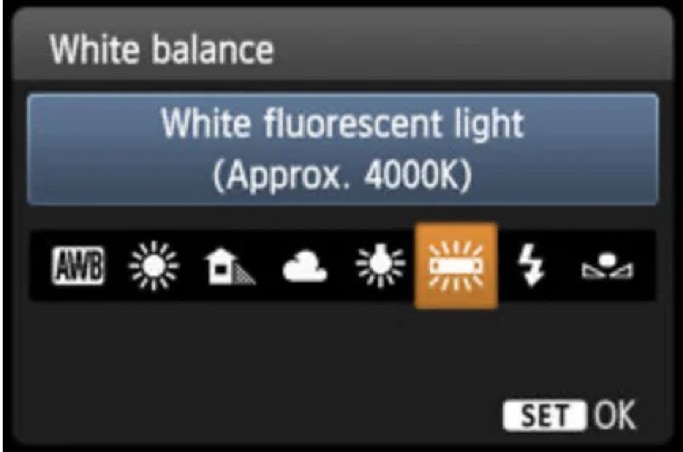
Color
The color of light depends on the light source. The sun is yellowish, light bulbs are orange, fluorescent light is slightly greenish, and so forth. You should set your camera’s white balance setting to correspond with the light source you’re using.
How to use this information:
We set the camera to the quantity and color of light using exposure settings and the white balance setting. What is left is the quality of light and the direction. These are essential for the artistic feel of your photos and what we should be paying attention to, mostly.
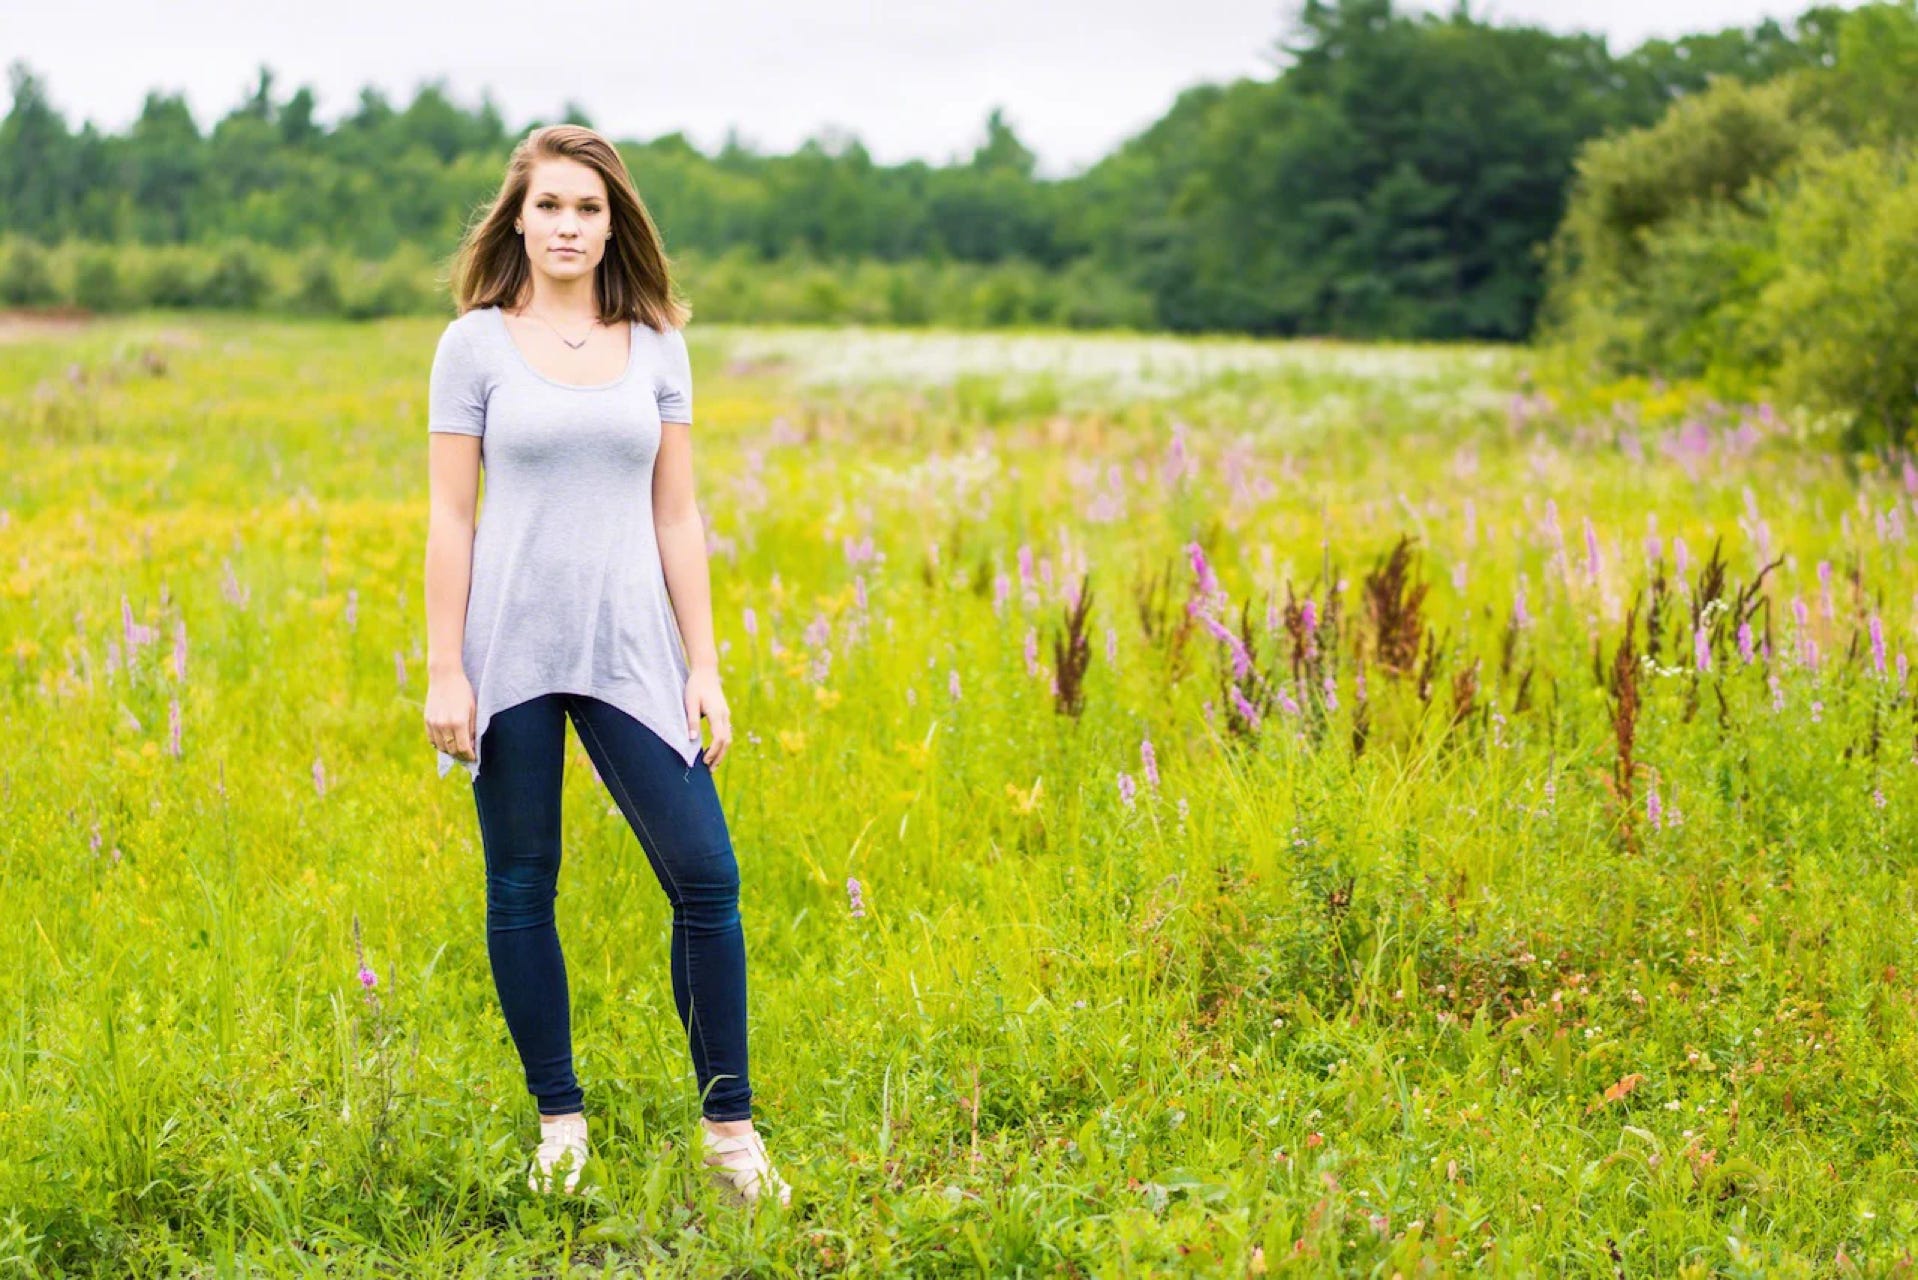
The quality of light, essentially the difference between soft (diffused) and hard (direct) light, sets the mood of our photos. For portraits, peaceful landscapes, and serene scenes, softer light is often appropriate and more harmonious with the subject matter. You may find that a softer light is generally what you’re looking for in 95% of the cases unless you’re a street photographer. Street photography can benefit significantly from hard lighting.
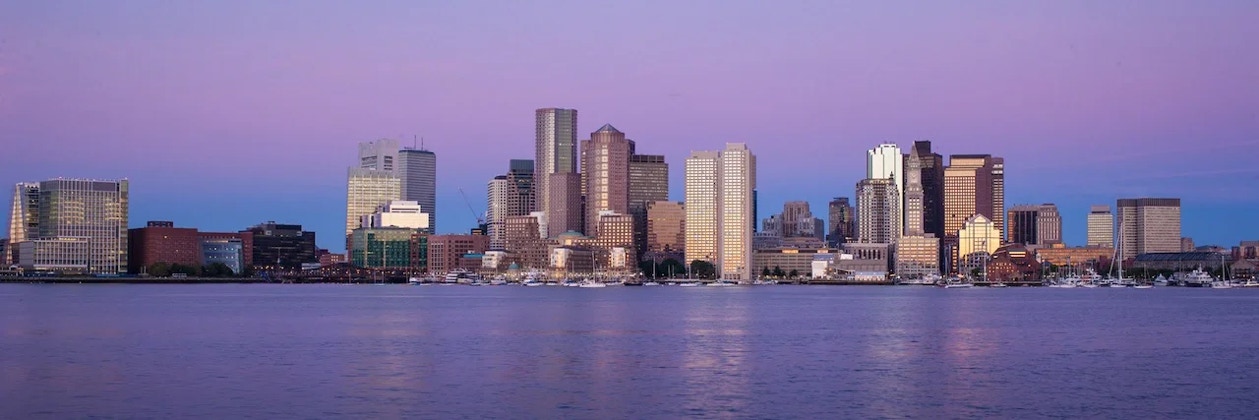
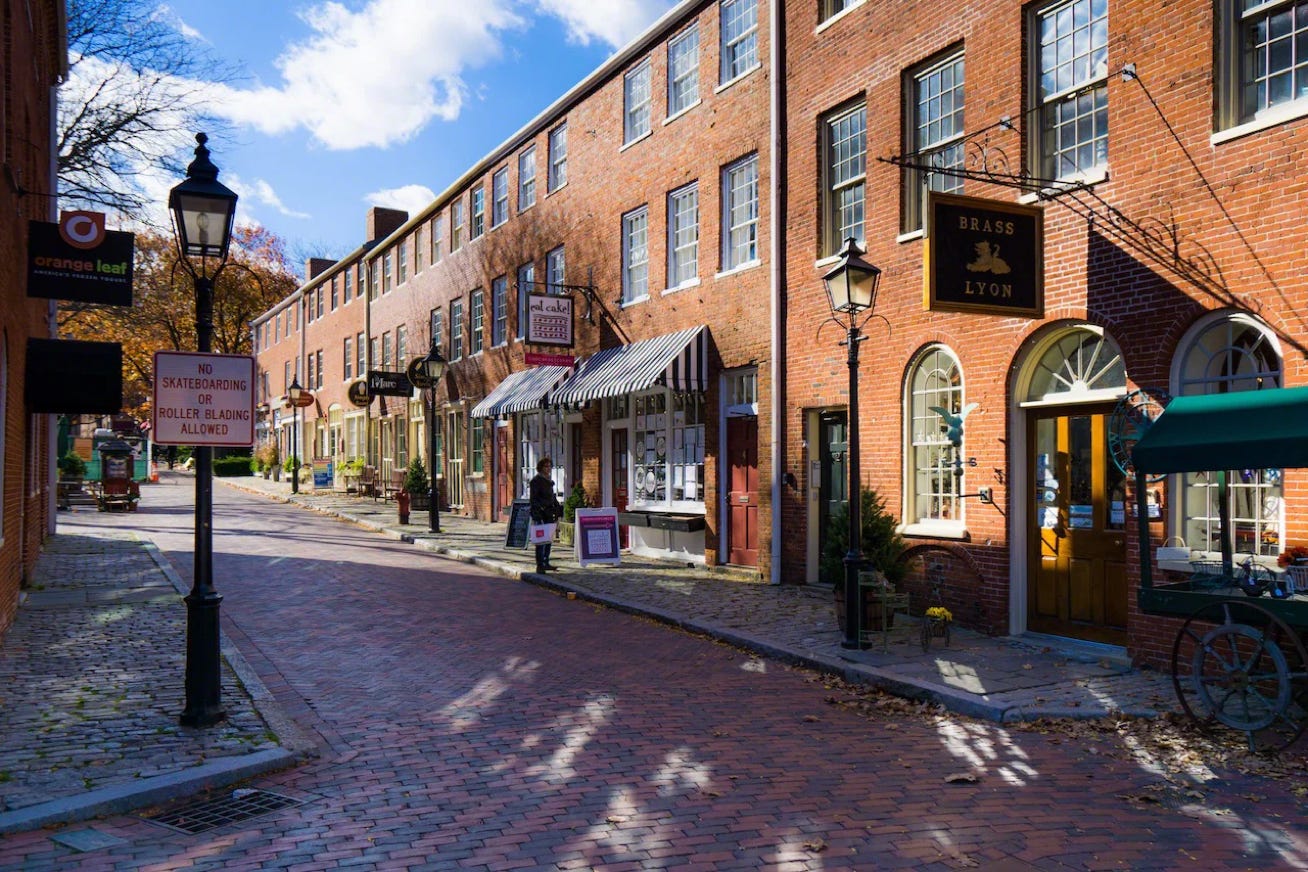
We love being outside when it’s sunny and warm, relishing the lovely weather. The lighting on such days will be hard light, and depending on what you’re photographing, you may not like the high contrast and harsh shadows. Photographing on overcast days or taking photos early in the morning or towards the evening gives you a softer light. That “golden hour” light around sunrise and sunset can also add a lovely warmth to your photos.
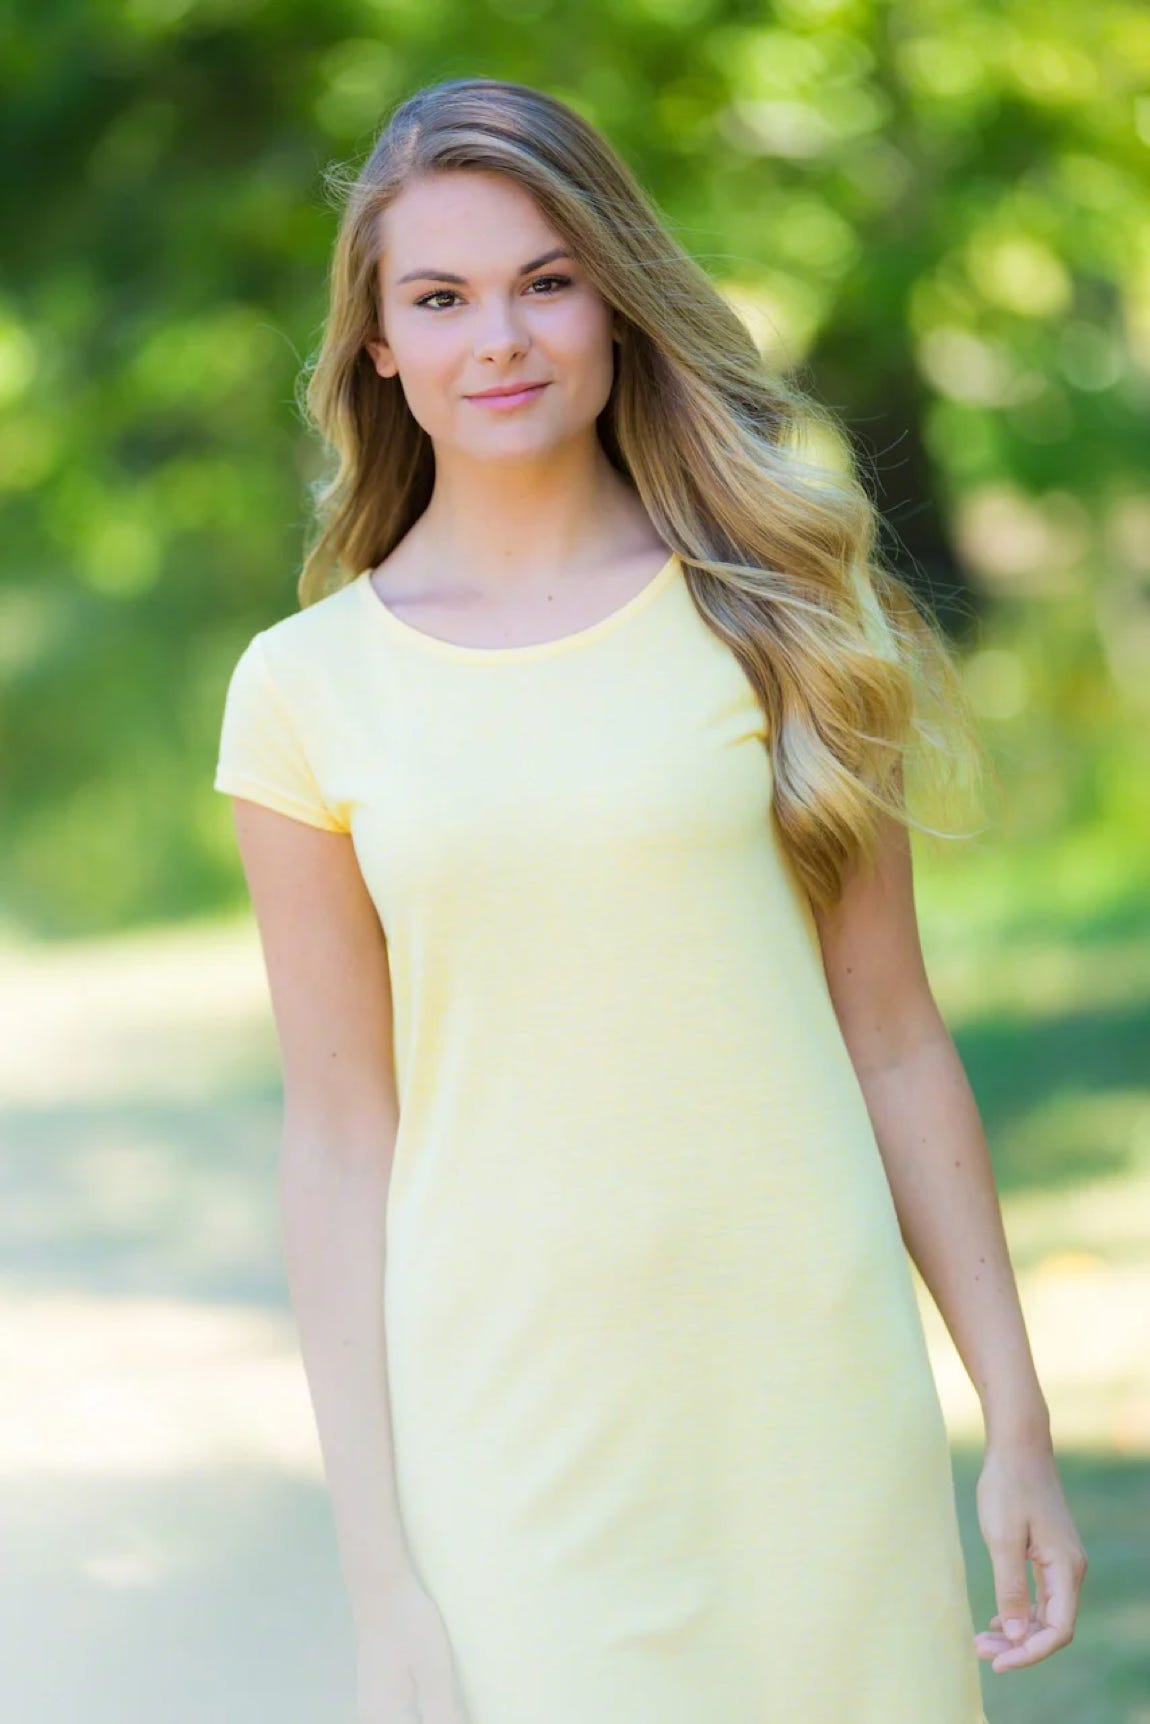
If you find yourself outdoors for a portrait session on a bright and sunny day, look for spots that shade your subject and the background. That way, the light on your subject will be softer and better balanced with the light on the background.
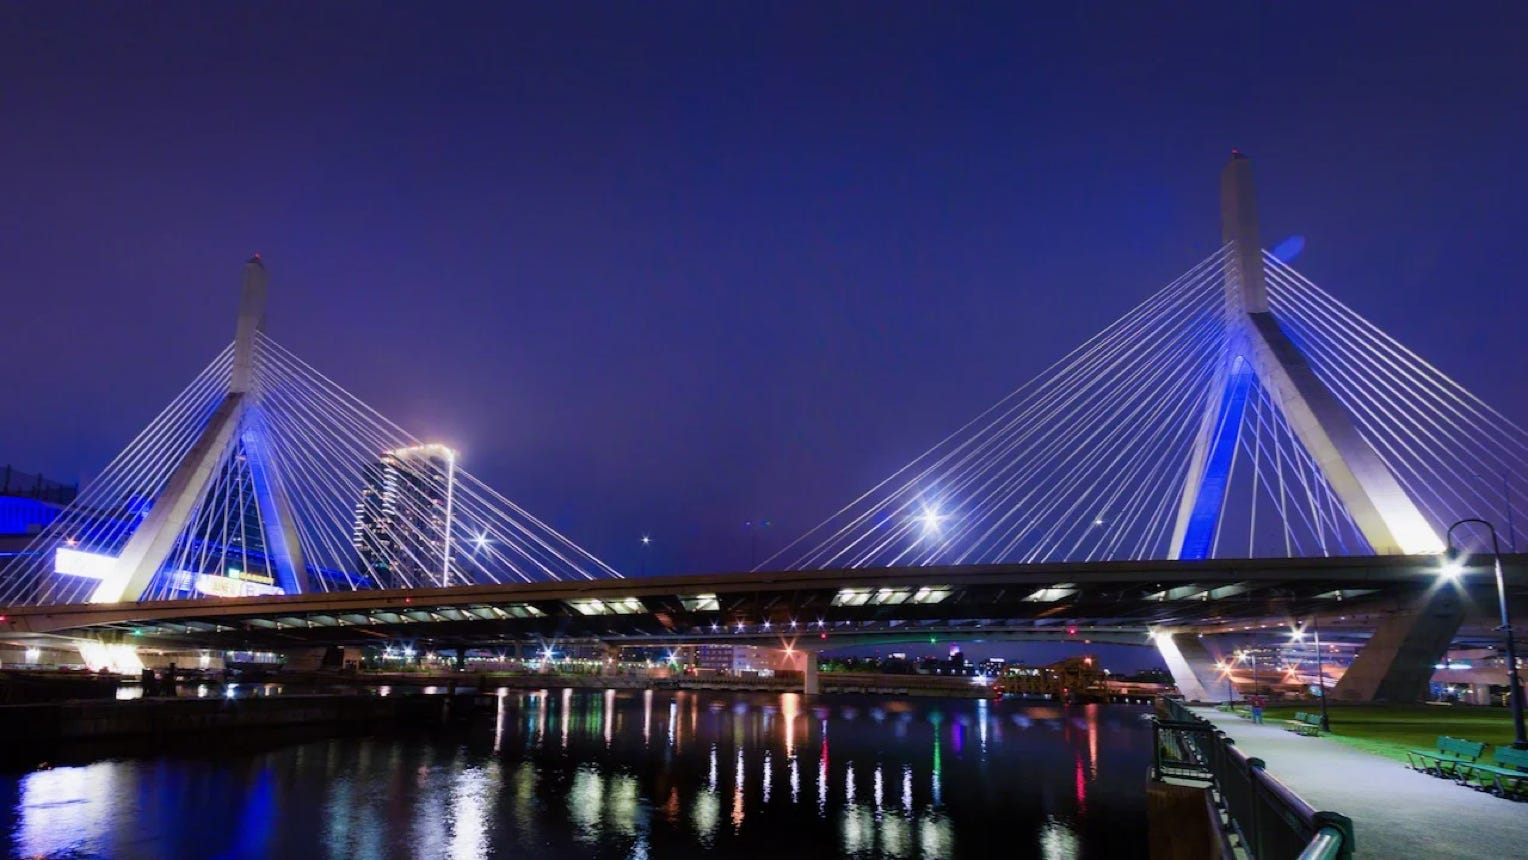
If you’re doing street photography, you may be looking for scenes that offer the harder light and glitziness quite often found right after a rain shower. You’ll find deep black pavements with areas reflecting colorful advertising lights to set your scene. Now, you need to look for how all these lights and shadows shape your frame, showcasing your subject(s) dramatically.
On to the direction of light:
The direction in which the light falls onto the subject depends on the camera position. If you photograph a portrait, you can change the camera position to change the direction of light.
For portraits, there are 2 lighting directions to avoid. One is ghoul lighting, which you get if the light source is below the subject, lighting up. The telltale is that if the nose's bottom is brighter than the top, you have ghoul lighting. The second one isn’t that dramatic, maybe more of a preference. If the light falls on your subject from the same direction from which you’re taking the photo, that’s front lighting. We generally try to avoid that, but I’m finding, depending on your subject and the scene, it’s often not the end the world.
If you want to learn more about lighting and how it affects your photos, look into our Photography-1 through 3 courses and workshops. Lighting is usually a big part of any portrait-related course or workshop.